Azure Installation
This portion of the guide will show you how to create a virtual machine in the Azure Cloud.
From the Services menu select Virtual Machines. From the Virtual Machines page select Create and then select Virtual Machine.
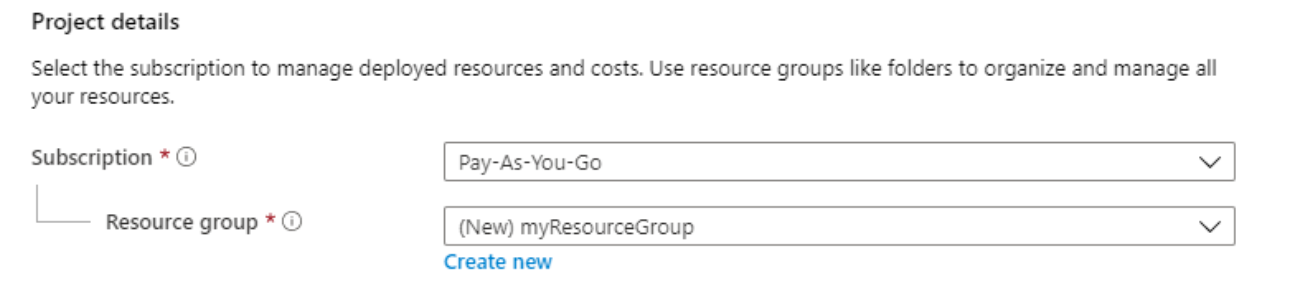
Select the Basics tab and select an existing Resource group or create a new one.

Specify your instance details. System hardware requirements are dependent on the number of concurrent users that will be accessing the system. Please refer to the VCOM Virtual Matrix Intercom System Requirements for more information.
Note: VCOM can be run on all modern Windows Operating Systems. You may use a different version than what is show above.
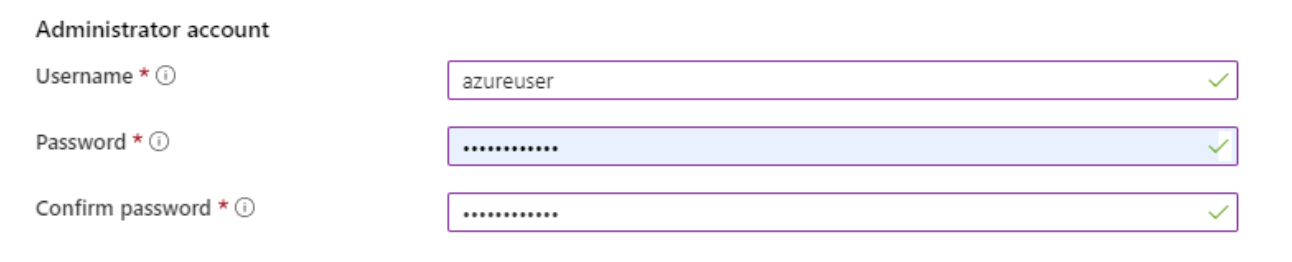
Under Administrator account provide a username and password.
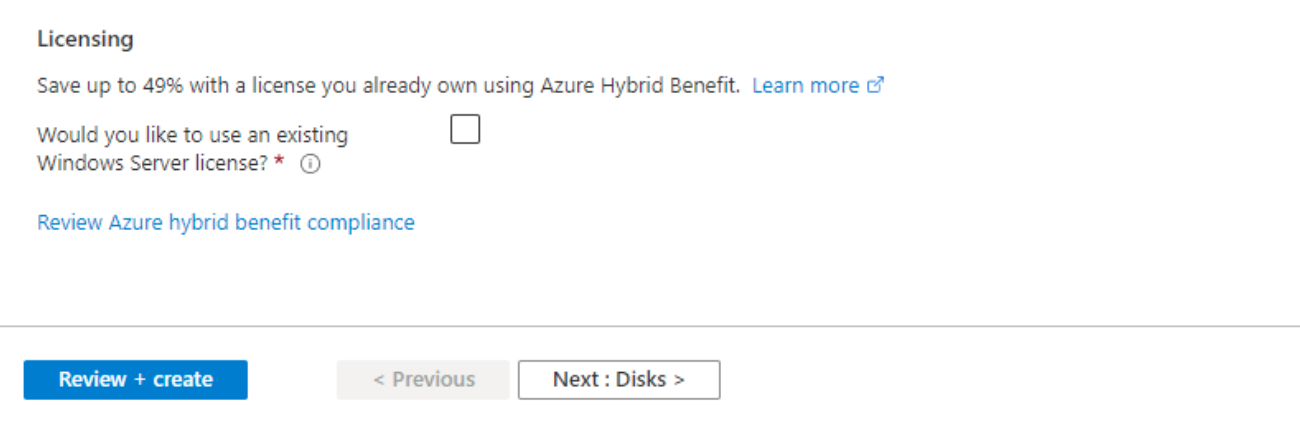
Click the Review + Create button at the bottom of the page.
Firewall Configuration
On the left side of the screen select Networking and then click Add inbound port rule.
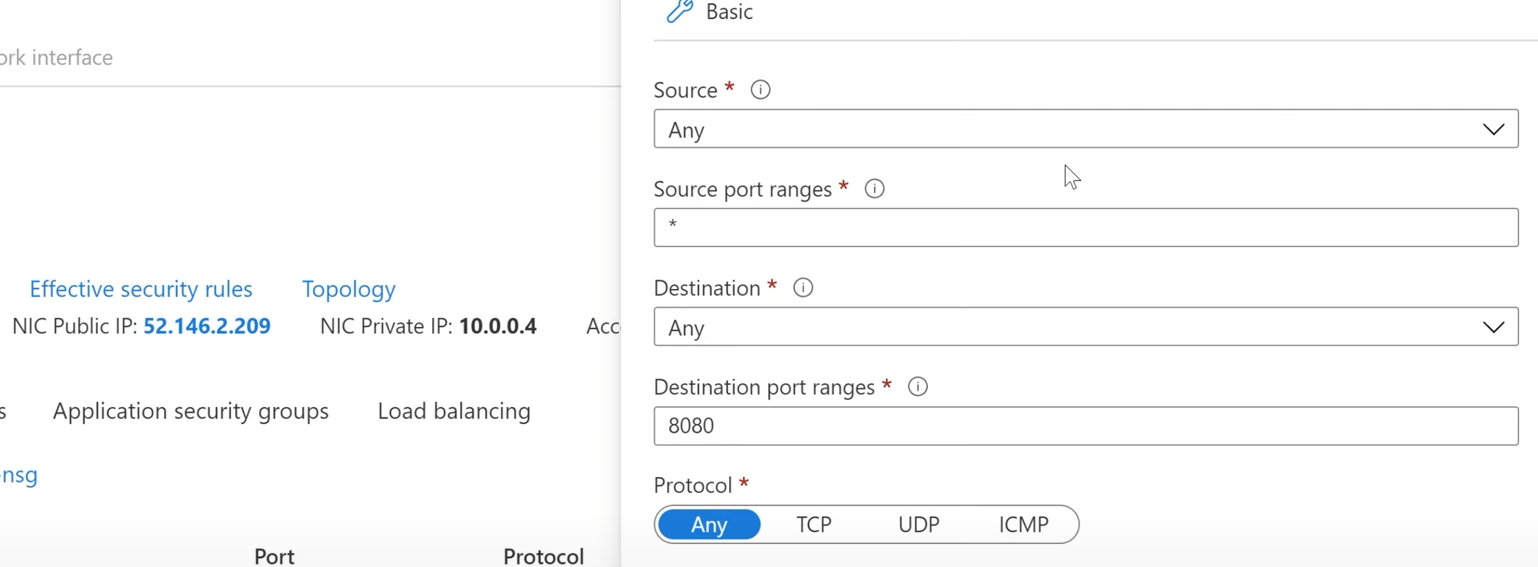
A list of ports used by VCOM Virtual Matrix is available in the Network Requirements section of our documentation. Add a rule for every required port.
Note: If you do not add an inbound rule for port 3389 TCP & UDP you will not be able to connect to the server via RDP.
Connecting to the server instance
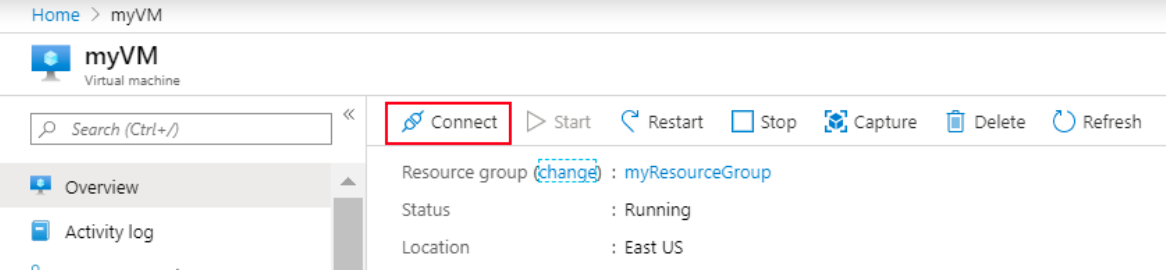
From the Overview page select Connect and then RDP. Then click Download RDP file. Double click the RDP file and click connect then enter in the username and password for the server.
Configuring the server instance
Disabling Internet Explorer Enhanced Security
By default, IE does not downloading files from the internet. This portion of the guide will show you how to disable IE Enhanced Security. This step is necessary only if you are using Windows Server and plan to download VCOM Virtual Matrix from the internet. You can skip this portion of the guide if you plan to transfer the VCOM Virtual Matrix installer to the server using RDP.

To connect to your server double click the Remote Desktop File and paste in your password when prompted. If you select the Remember me option, then you will not need to renter the credentials in the future. By default, Windows Server will have IE Enhanced Security enabled. With this setting turned on you will not be able to download the VCOM Virtual Matrix software via the internet. To disable it, launch the Server Manager application and then select Local Server from the left. On the right, click the On button next to the line that says IE Enhanced Security Configuration.
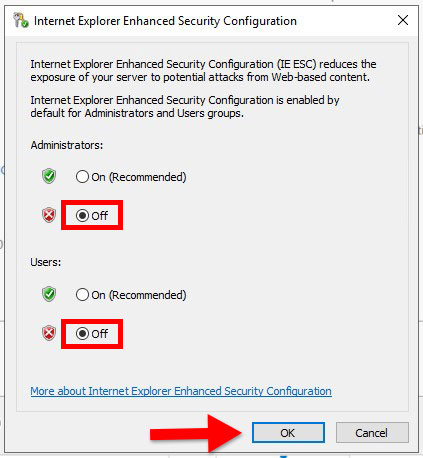
Disable the IE Enhanced Security Configuration as show above then click Ok. You will now be able to download the VCOM Virtual Matrix Software from our website.
Windows Firewall Configuration
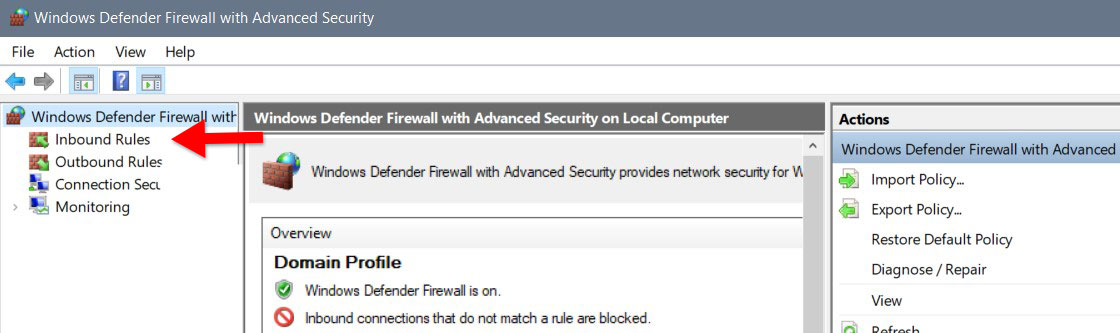
You will need to either disable the Windows firewall entirely or configure Inbound Rules for all of the
ports required by VCOM Virtual Matrix. To create an Inbound Rule launch the Control Panel > Firewall > Advanced Settings. Click Inbound Rules and then click New Rule.
A list of ports used by VCOM Virtual Matrix is available in the Network Requirements section of our documentation.
Add a rule for every required port.
Software Installation and Licensing
Please follow the VCOM Virtual Matrix Software Installation and Licensing documentation to complete the setup.